How To Save Your Photos To SD Card On Your Android Phone
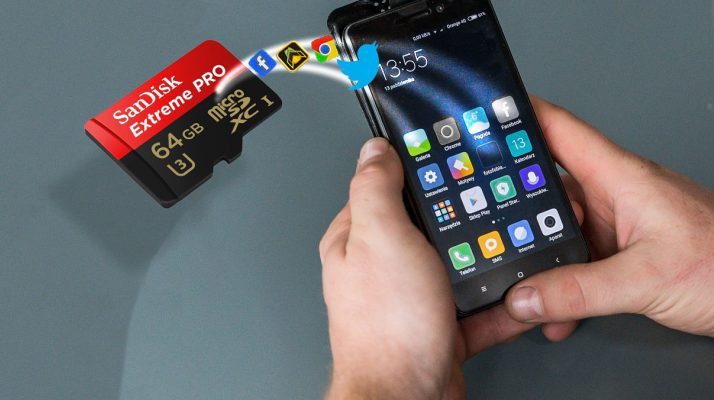
You can configure your Android phone to save the photos you click directly to the SD card, instead of storing them on the phone’s internal memory. In this way, you can take as many pictures as you want without having to worry about running out of space on your internal storage.
Regardless of if you own an older Android phone or a brand new phone, the steps you must take to set up your camera to store the photos right to the SD card are quite similar.
The steps may be slightly different from phone to phone; however, digging around a little bit will help you find the right options.
Keep in mind that some Android versions do not officially allow you to store your pictures on the SD card; however, there are workarounds for that too.
Let’s begin.
How to save pictures to SD card on Android phones:
The process of setting up your Android Phone to save images directly to the SD card instead of using the phone’s internal storage is easy, and the steps below should apply to most phones with an SD card slot.
Method #1: By Notification Pop-up
In case you haven’t already, insert an SD card into the SD card slot of your phone. You may have to open the back cover of your phone for this if you have an older phone. For newer phones, use the SIM ejector tool to reveal the SD card slot, and insert your SD card.
After you have inserted the SD card into the phone, a pop-up notification should appear, saying that an SD card has been inserted.
On most Android phones, you will see a pop-up message asking you if you want to change your default storage location to the SD card. The pop-up makes it easy to make a decision right then, by just tapping on the ‘Save Photos to SD card’ option.
In case you miss this message, or it does not appear, do not worry. You can configure this option manually by going into your camera apps’ settings menu.
Method #2: Manual Setup
Follow the steps below to manually set up your Android phone to save photos to the inserted SD card.
- Launch the Camera app on your phone by tapping on the camera icon.
- Tap on the gear-shaped Settings icon. You should find this on the upper-left corner of your screen.
- On the Camera Settings screen, scroll down until you find the ‘Storage location’ option. Tap on it.
- Next, tap on the ‘SD Card’ or ‘Memory Card’ option.
From this point forward, all the photos that you click on your Android phone’s front or rear camera will be stored directly on the SD card.
Please note that your screenshots are still saved on your phone’s internal storage in the ‘DCIM’ folder.
On newer phones using Android Oreo and above, configuring the camera app to store pictures on the SD card is not directly possible. Downloading another camera application like MX Camera will enable you to save your photos on the SD card.


