Category
Tech
111 articles · page 2 of 6

Oppo Reno 3 Pro With 44-Megapixel Selfie Camera To Launch In India Soon
Oppo Reno 3 Pro is making its way to India quite soon. However, one difference we will see with the smartphone is that it will come with…
·598 reads- NewsNews
Samsung Galaxy M20 Android 10 Update Rollout Expands To Europe
Samsung recently released Android 10 and One UI 2.0 for the Galaxy M20. The company had decided to release it in India first, which…
·587 reads 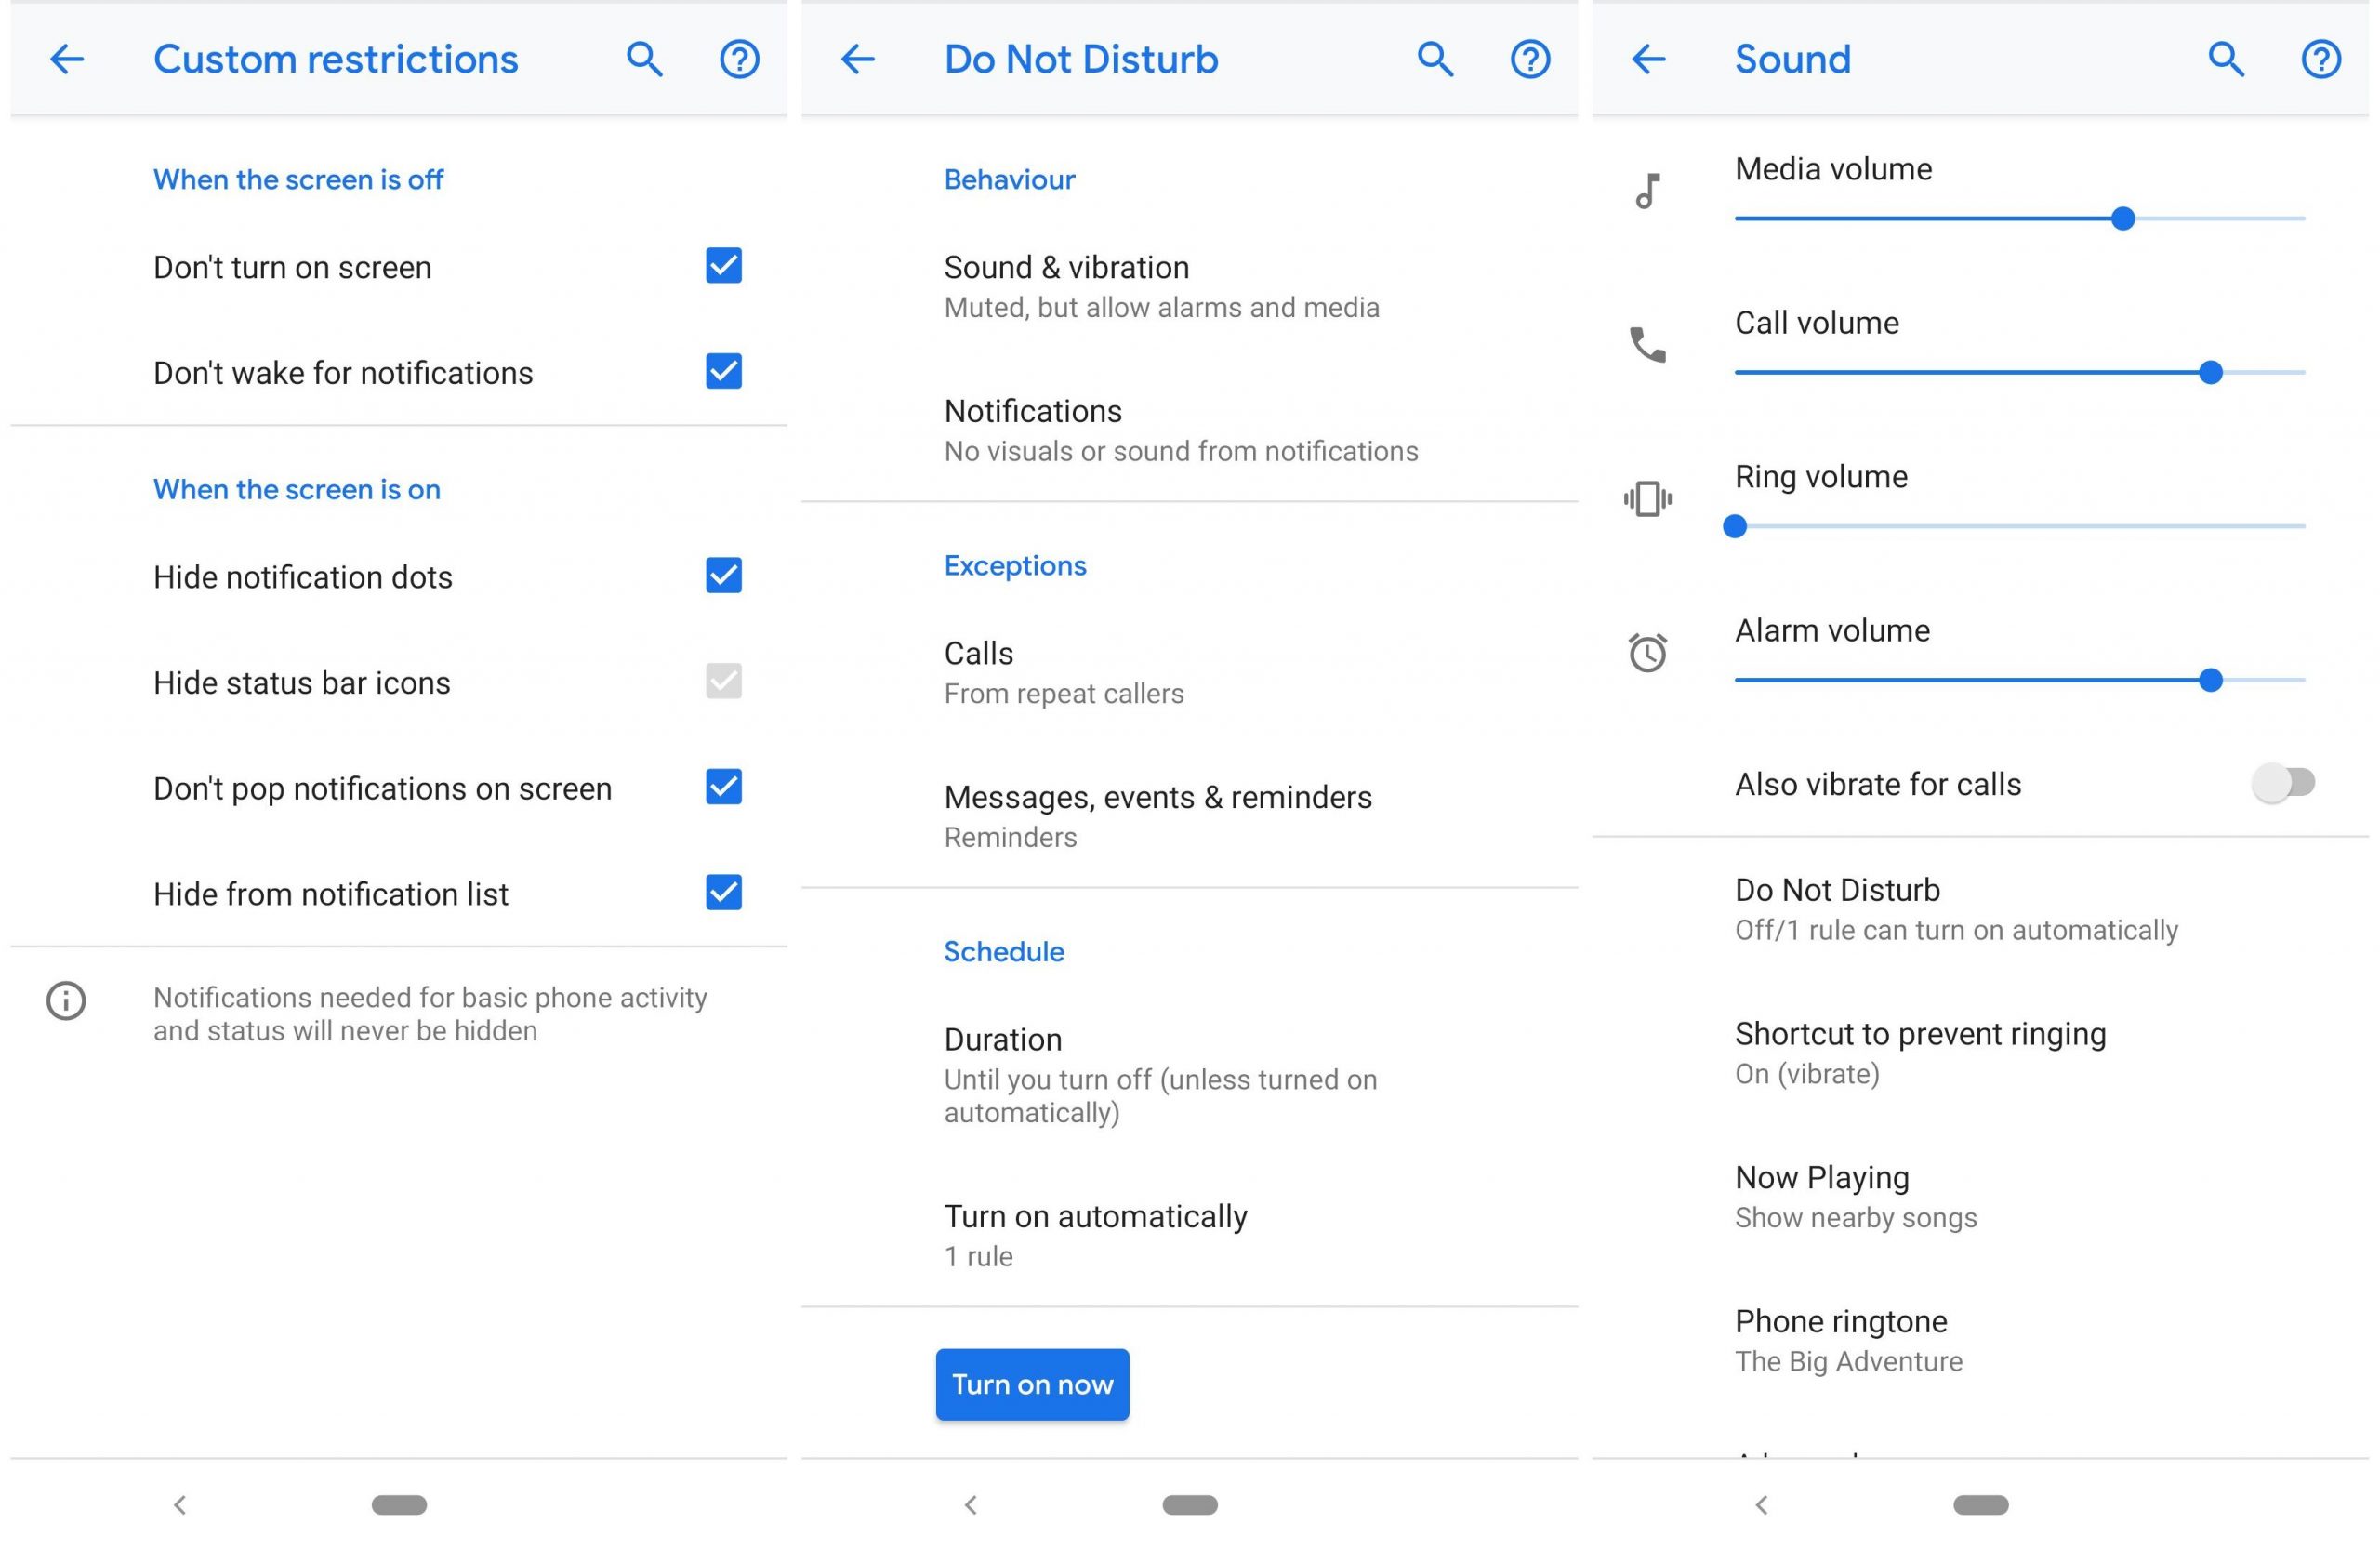
How To Change Notification Settings On Android?
Notifications, which notify you and help in showing the new content in the app or on a website is like a reminder of the content. You can…
·561 reads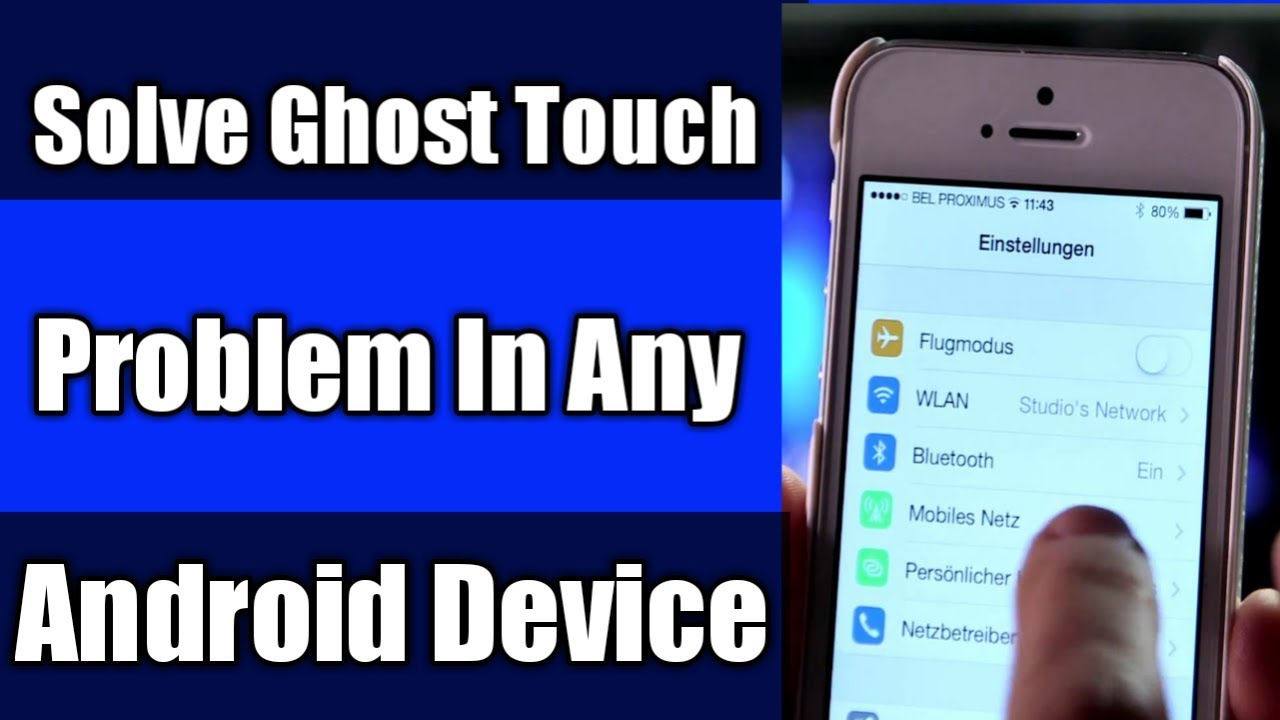
How to fix the Ghost Touch problem in Android phones?
Ghost touch refers to the glitches which come in Android phones due to which phones’ screen responds to undesirable presses. These are the…
·1,426 reads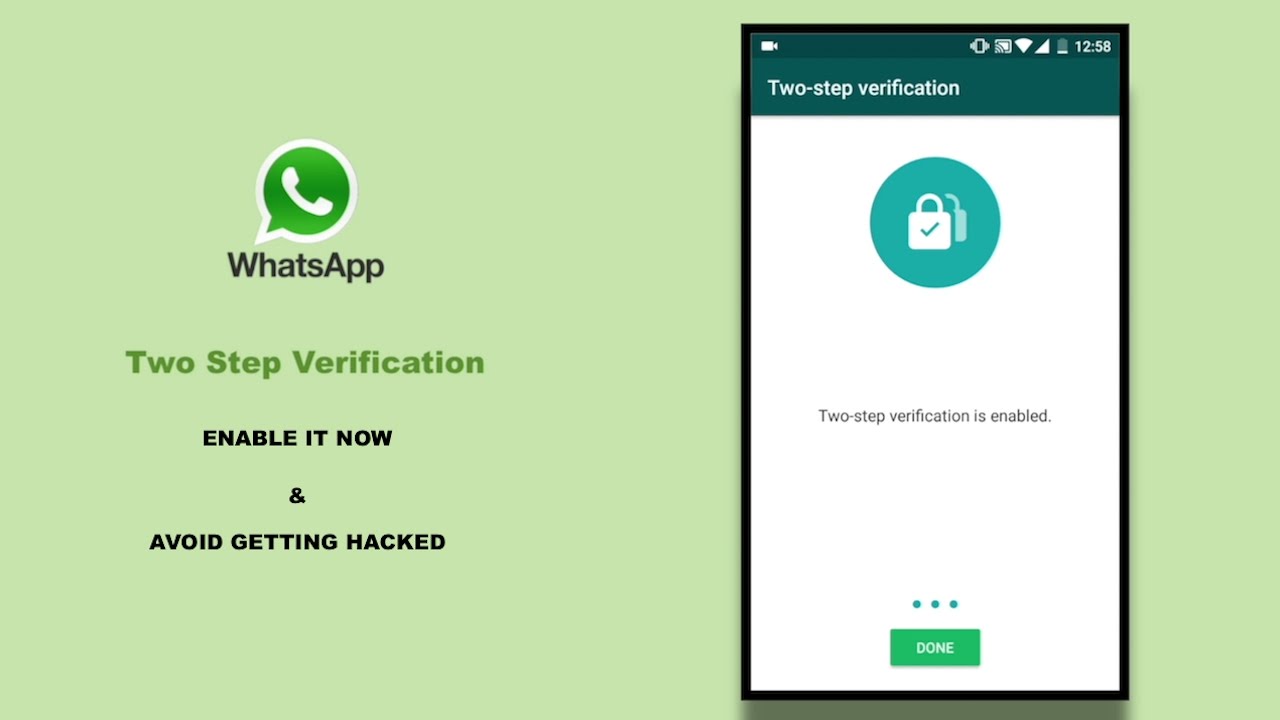
Whatsapp Two Factor Authentication: How to Set It Up
WhatsApp is a widespread application nowadays. It was launched in January 2009 and is supported by iOS and Android. It is headquartered in…
·700 reads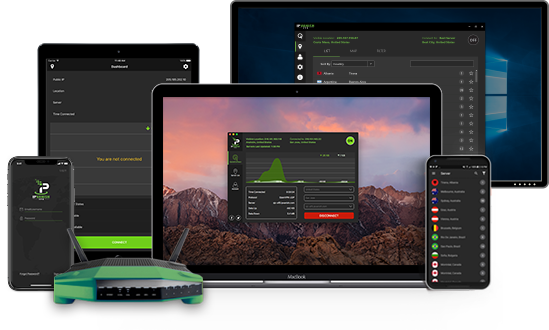
IPVanish VPN: Restoring Online Privacy
First released in 2012, IPVanish VPN is a commercial VPN service that is based in the US. It is a unique initiative that provides…
·613 reads
Voot App for Android TV Apk Free Download Guide
Need to watch your favorite television show but you can’t carry your idiot box with you. Not to worry, get your television in hand. Get…
·1,154 reads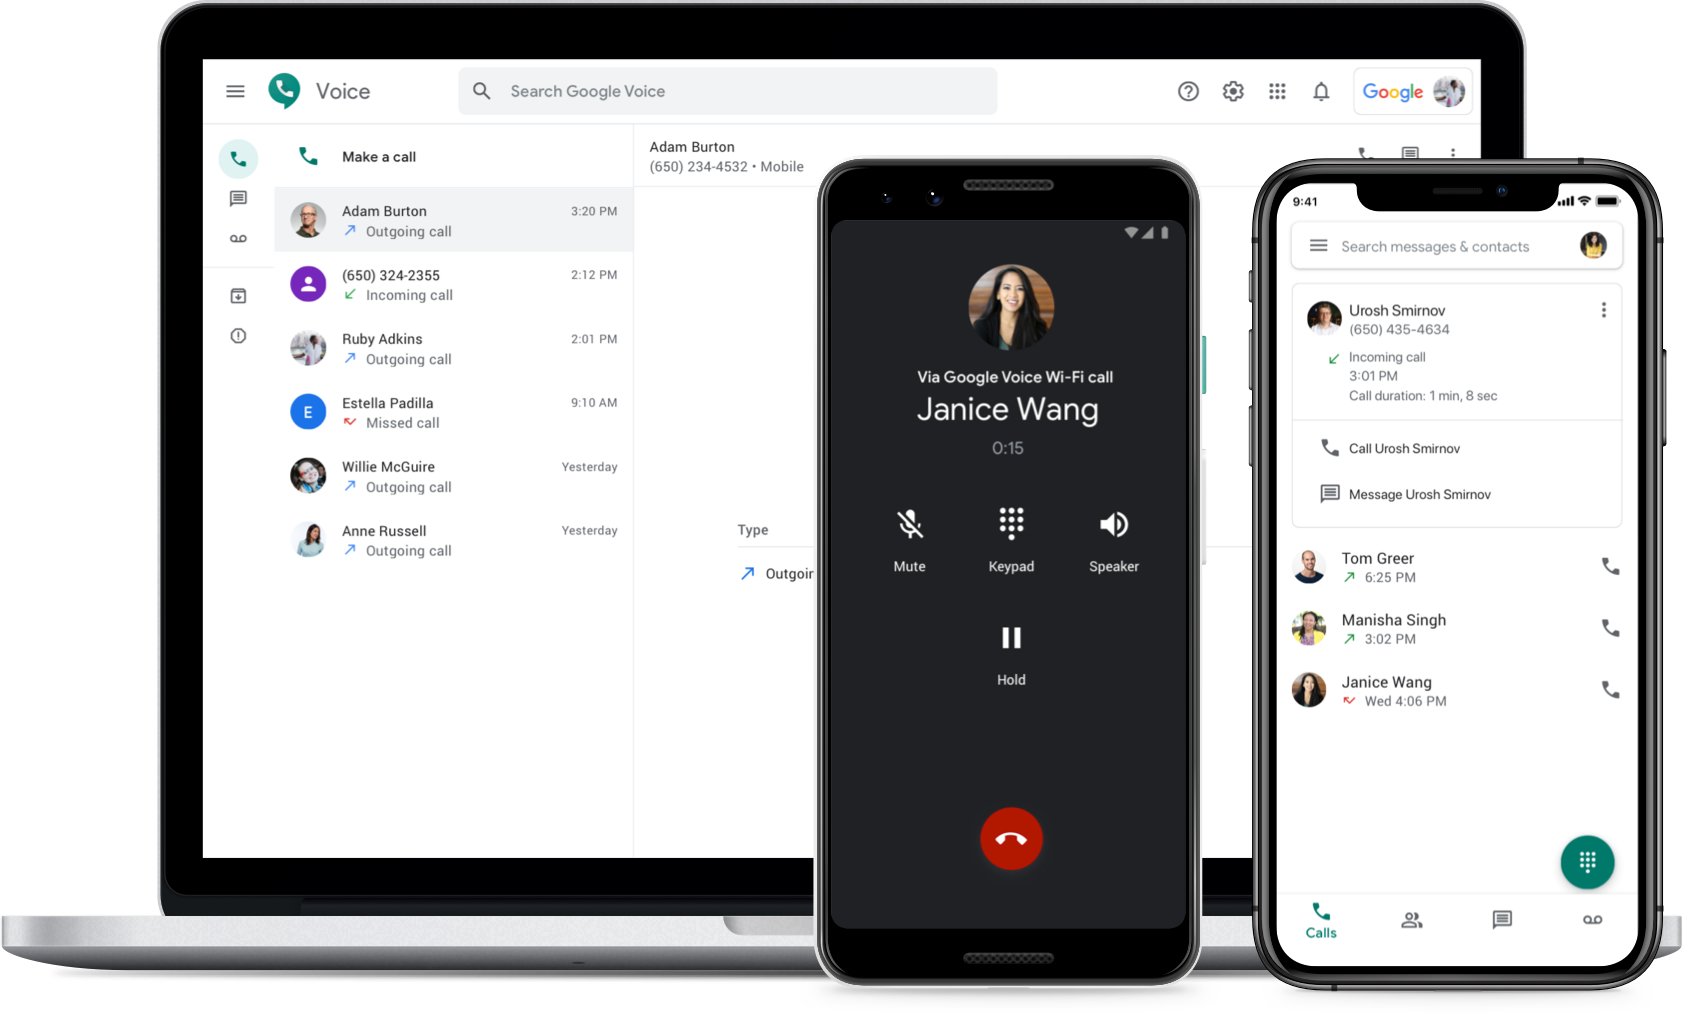
Google Call Recording Functionality With Built-In Transcription
A service created in 2009, Google voice ensures the user to call someone or receive calls, texts without any cost. With the rapid demand…
·540 reads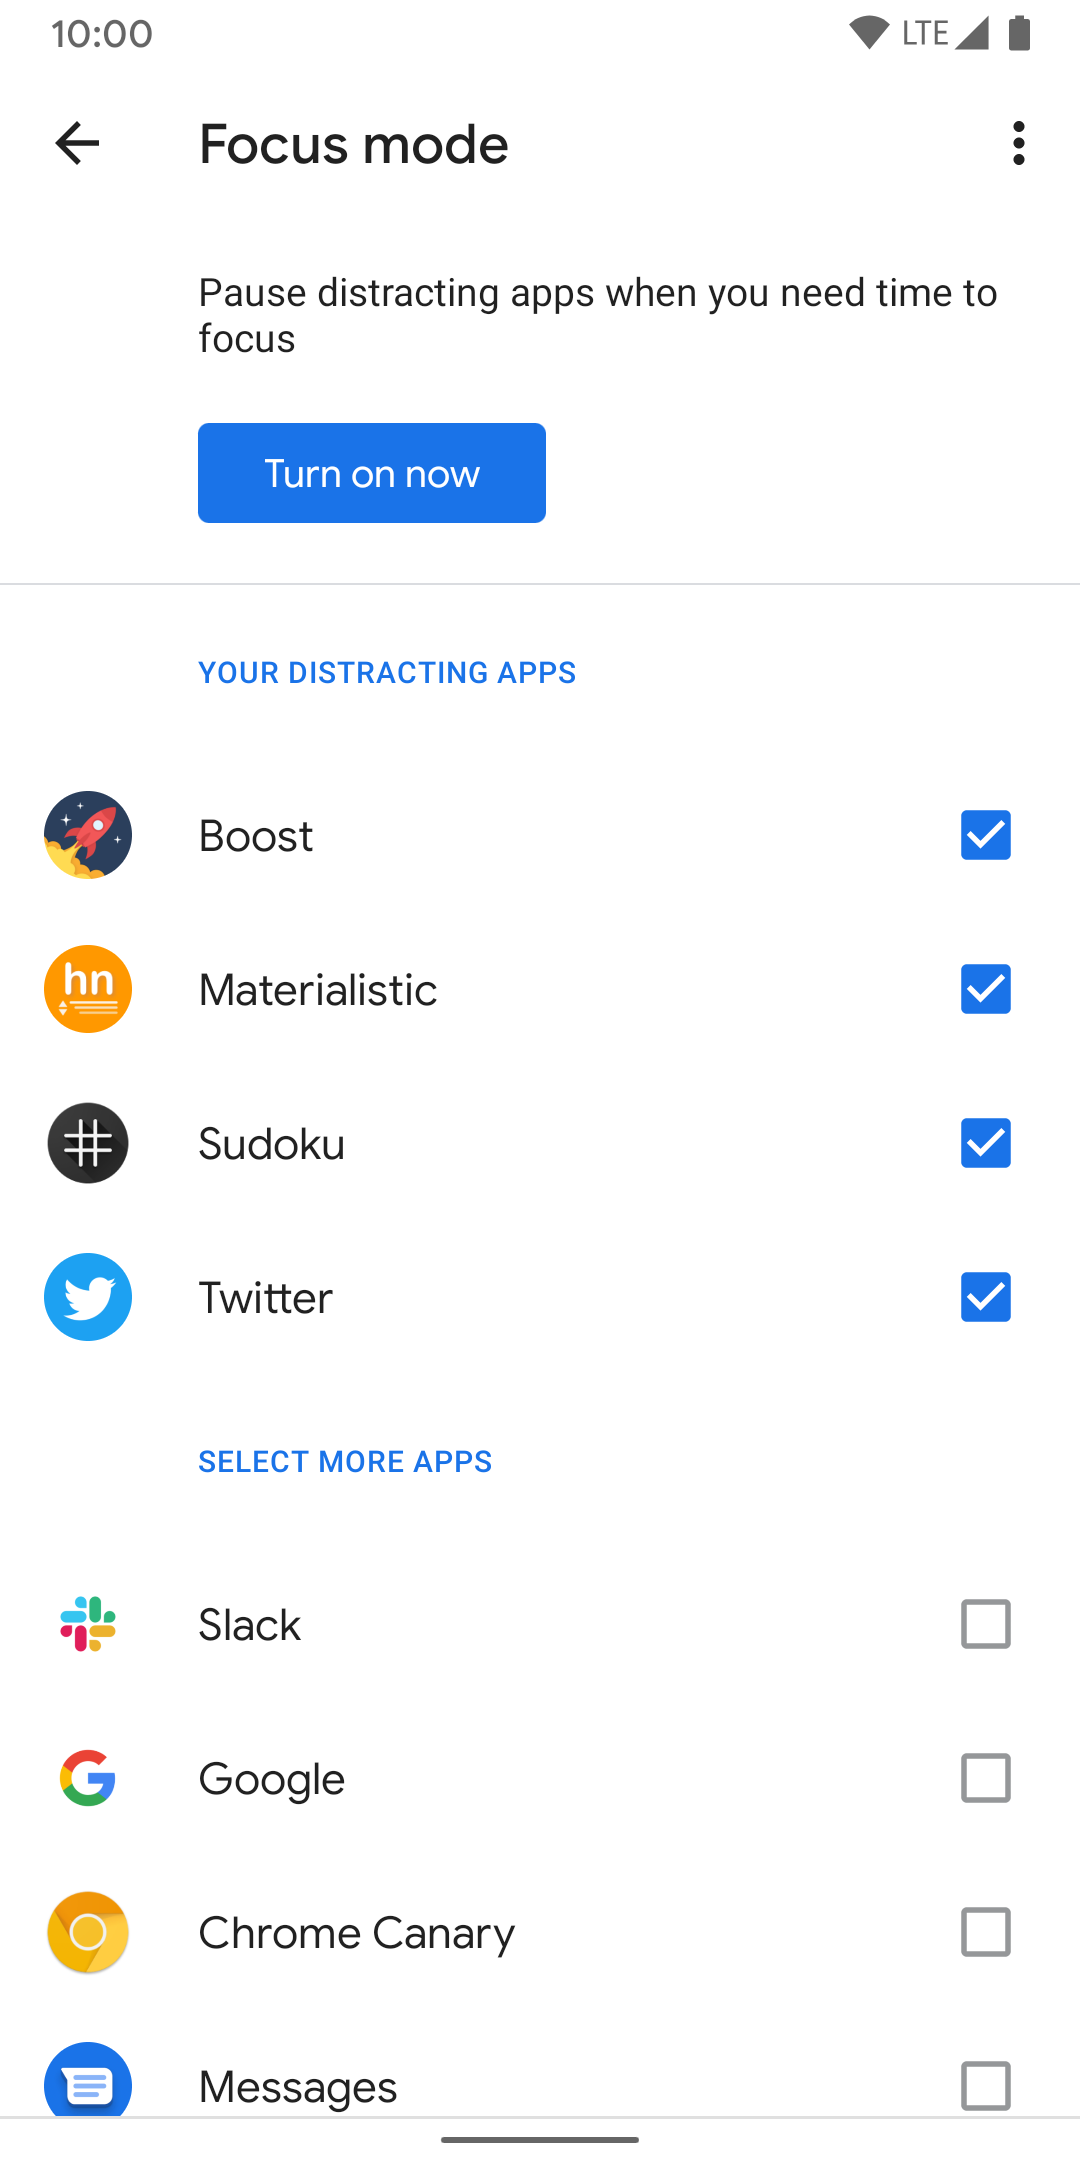
Focus Mode On Android 10: Everything You Need To Know About It
A new Digital Wellbeing tool on Android, Focus mode helps in temporarily pausing the distracting app to complete the latest task at hand.…
·564 reads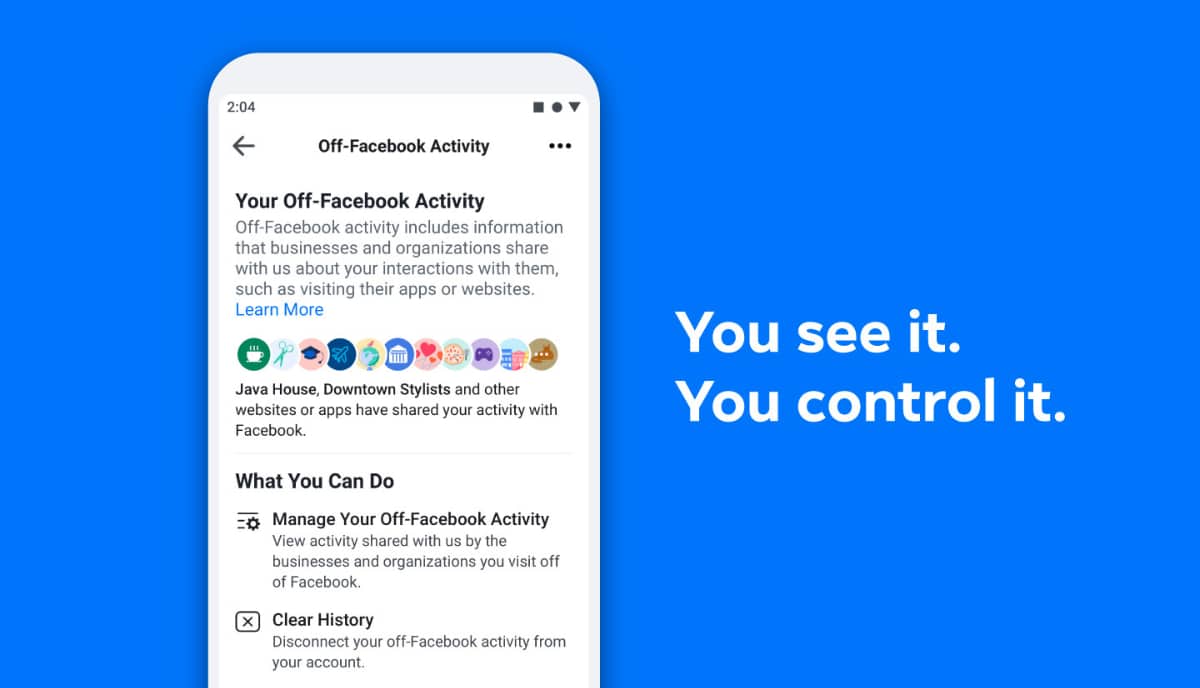
Off-Facebook Activity: Facebook’s Tool For Third-Party Data Sharing
Facebook is used by a wide range of users and has a strict privacy policy to ensure the privacy of user’s personal data and information.…
·567 reads
MIUI Tips And Tricks: How To Get The Most Out Of Your Xiaomi Smartphone
Xiaomi started working on its MIUI software quite sometime before it got down to developing smartphones. In the tenth version as of now,…
·560 reads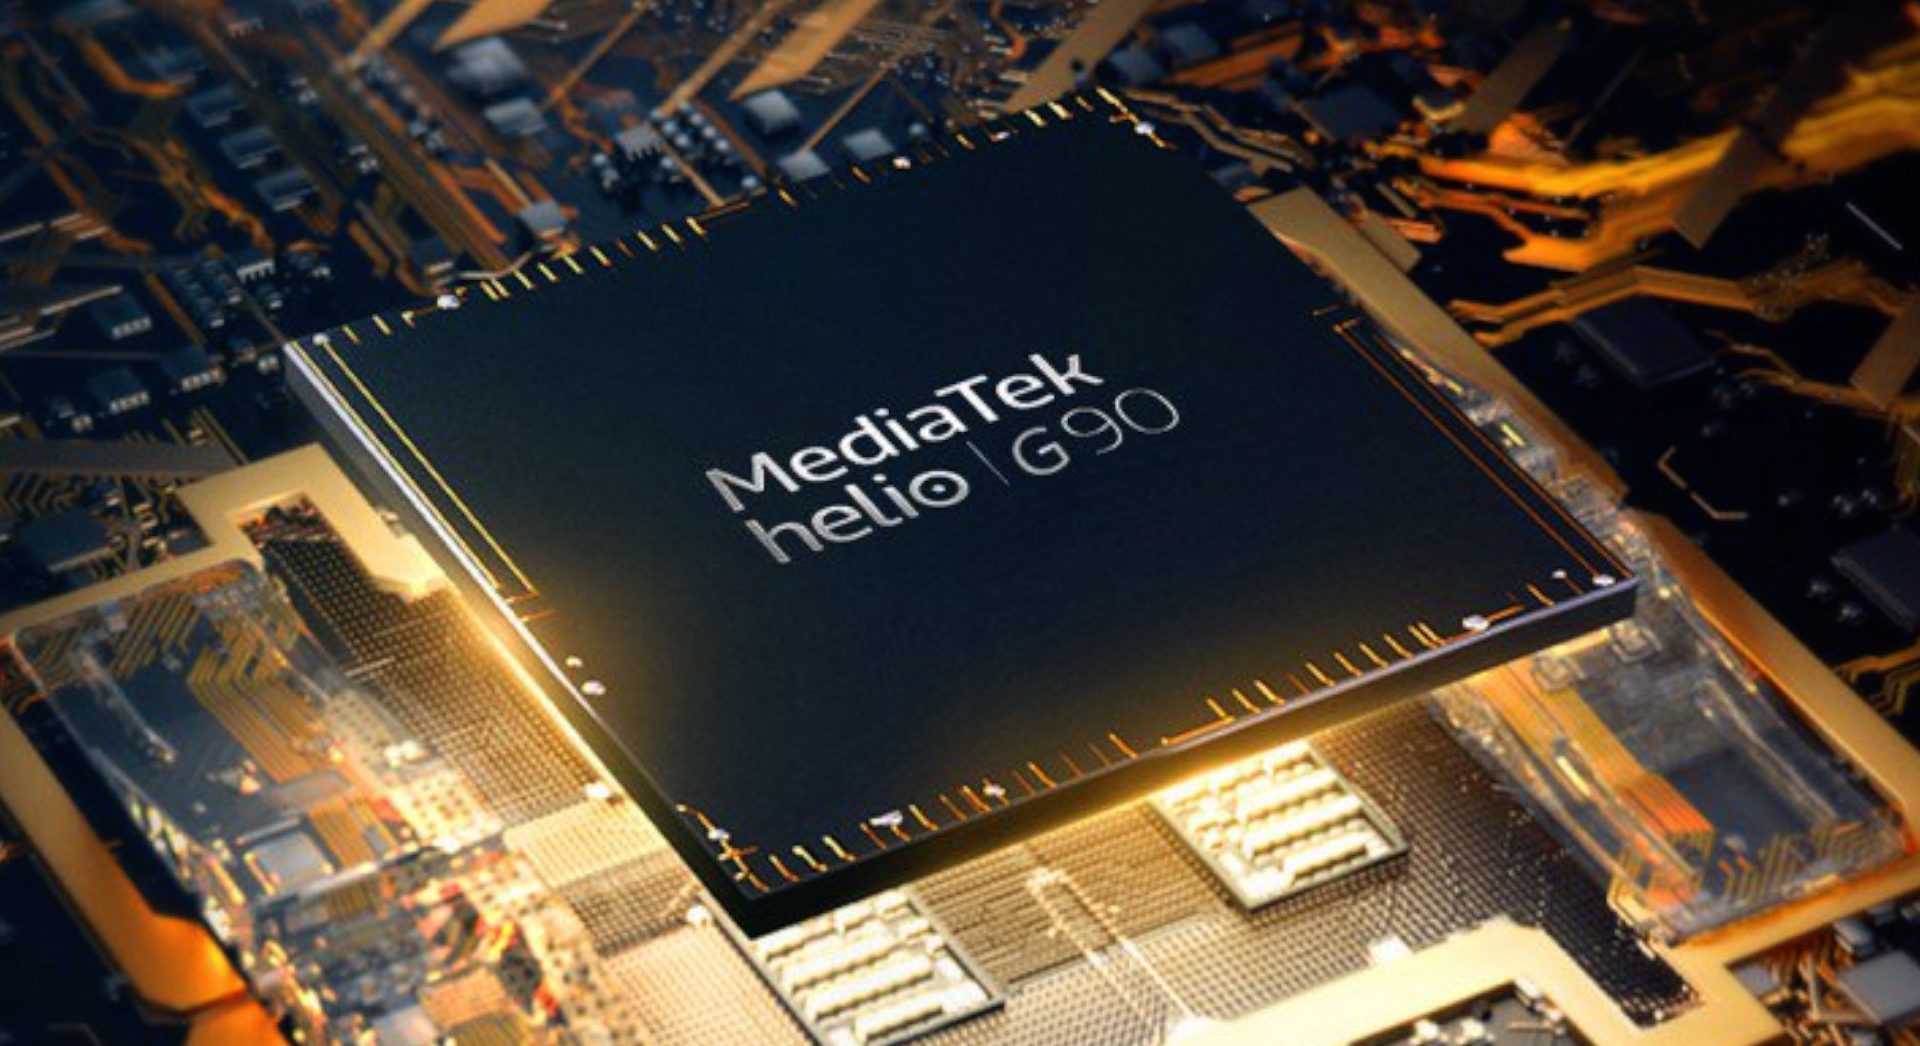
Mediatek Chipsets: Company Reveals Two New Mid-Range Smartphone Gaming Chipsets
MediaTek reveals two new smartphone chipsets for mobile gaming - the Helio G70 and G80. It is believed that these chips will make it to…
·611 reads
How does Google backup encryption works?
Backing your data is an incredibly easy task on Android. However, there are some issues that Google needs to take care of as soon as…
·673 reads
How to Enable Dark Mode in Facebook
The new dark mode feature is an interesting thing for Android users. Apple also introduces this feature for its OS. Later, it started…
·586 reads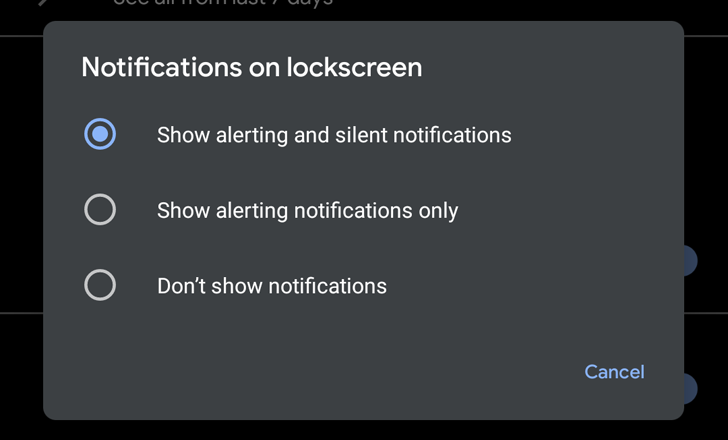
Android Auto update with silent notifications
Android Auto Update Invention Google has always come up with great, intelligent devices with its technological advancements. Four years…
·606 reads
OpenSK: Google Releases Open-Source 2FA Security Key Platform
OGoogle releases an open-source 2FA security key platform called OpenSK. The company is deeply involved with security keys and has always…
·576 reads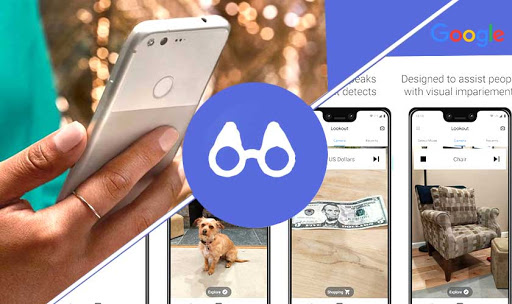
Google Lookout Uses Artificial Intelligence To Help Visually Impaired People Navigate The World
Can you imagine how would a visually impaired person navigate the world? Whether you are walking on the streets or cooking something at…
·582 reads
How To Activate Google’s Advanced Protection
With the advent of the web, a few things have become easier like shopping, browsing, booking and some more. But these gateways required…
·571 reads
Qualcomm Releases New Inexpensive Snapdragon Chips
We realize 5G is coming, and it's already up and running in some areas. Nonetheless, buying a new 4G mobile phone is still important, and…
·583 reads
Amazon Echo Dot 3rd Gen Vs. Echo Dot With Clock Review
The two popularly known intelligent speakers in the market are Echo Dot and the Echo Dot with Clock. Amazon launched new models of both…
·575 reads


