Well, the usage of Google in all the ways has become bigger and better than expected in recent times. Yes, from browsing to money transactions, everything has been used with the support of Google in recent times. Even millions of people are excited about accessing Google for various reasons.

When it comes to Google Pay or some other services from Google, you will feel comfortable and at the same time, the usage is completely secure. It is also one of the main reasons where millions of people focus on this platform.
Exciting news from Google
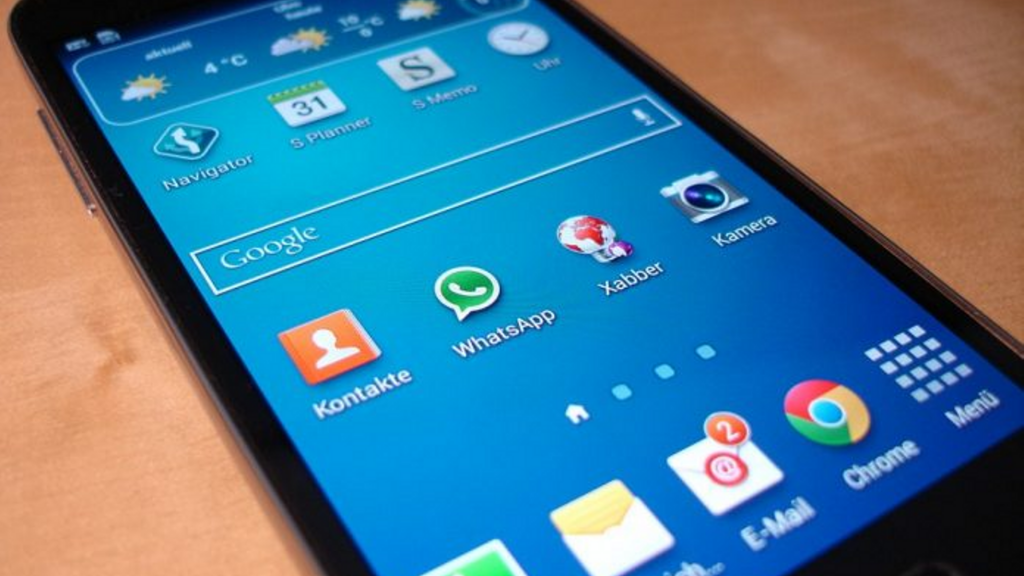
As we mentioned earlier, the usage of Google is growing like never before in recent times. Generally, when it comes to downloading the games or apps in an Android device, we visit PlayStore to download. For information, it has a combination of paid and free apps to download. Most of the people may download the apps which are providing for free.
On the other side, some people may excite about downloading the paid apps due to their features which are hidden in it. However, after seeing the paid apps, some of them may reduce their interest in downloading those apps.
Now, the exciting news is where you can use the paid games or apps in a subscription plan. Yes, all you need to do is complete the subscription process and get ready to access any paid apps for free without any hassles. Well, this could be the best news for Google platform lovers for sure.
Google Play Pass is the name, which is going to arrive soon. This could be the best and new development for android users at any time. After the launch, the handling of premium apps or games will be huge in the future for sure.
Confirms on Twitter
This news is considering that has the similarities with Apple Arcade which was announced earlier to Apple users in order to access the premium apps and games with the subscription charges. If you see about Google Play Pass information, it has been confirmed over twitter recently.
So, the launch of Google Play Pass will happen soon and millions of android users are expecting to use soon with reasonable subscription charges. When it comes to news, it has been confirmed by Google Play on Twitter.
Hopefully, this new service will be liked by all. Even some of the users have shared some screenshots across the internet regarding the sneak peek over the development. This thing is confirming that there may be a chance to receive Google Play Pass soon. As per the reports, then Google Play Pass was supposed to launch last year itself. However, it is going to launch soon this year.
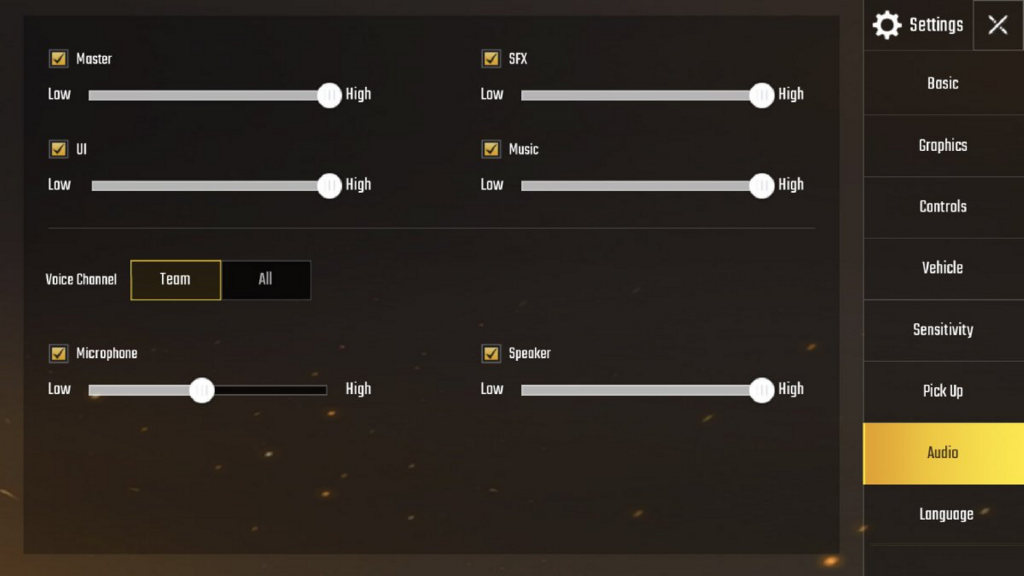
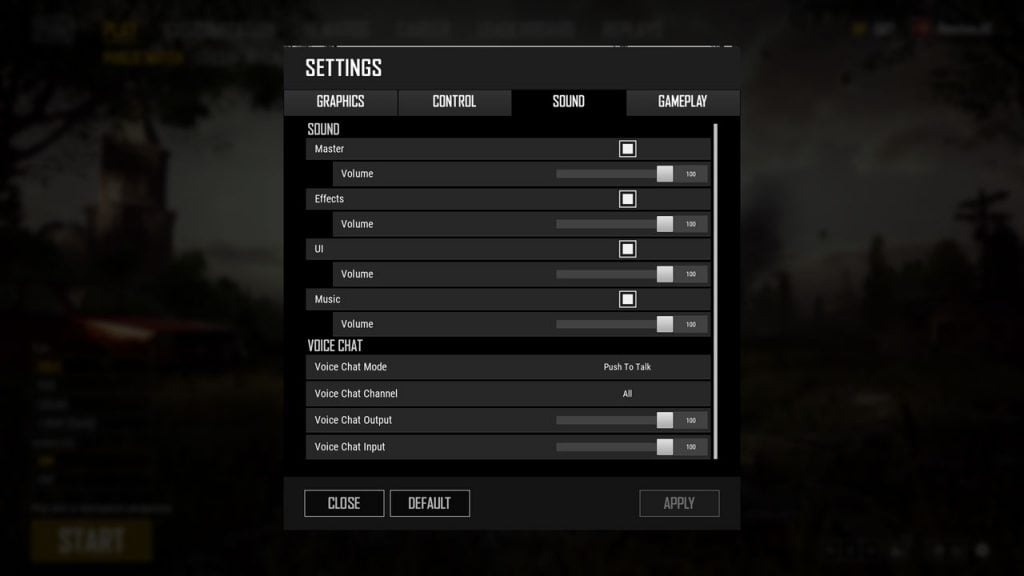
Google Play Pass subscription service charges
Now, this is the main thing where most of the people across the globe looking for it. Well, there is a leaked screenshot getting a ride over the internet related to subscription charges. It looks like the subscription will be $4.99. If you are in India, then you will be paid of Rs.360 for monthly usage.
For information, there will be a chance of witnessing the free trial of 10 days in the beginning. Post free trial; you will witness the subscription charges. However, there will be different plans to choose from and go according to that. Once the plan is fixed and subscription charges are done on your device, then you will be going to experience the better result in the end for sure.
After the successful launch, you will get a great opportunity to use premium apps or games that whenever you want. So, people don’t need to be worried about downloading premium apps every time. By using Google Play Pass Subscription, you are ready to access it at any time.
One can expect that Google will be going to offer a different price structure in order to grab the attention of people. People who all in the US and UK, also going to witness the usage of Google Play Pass at any time with reasonable subscription charges for sure.
The best thing about this service is where you can also get the bouquet of paid apps as well as games to use in a single subscription charge. According to your interest, you can choose the best bouquet that will be suitable to you. If the plan is fixed successfully, one can see a better outcome than expected for sure.
Games spotted in the screenshot
Like we said earlier, the subscription charges displayed in screenshots that are having a roam across the internet. Even some of the games spotted in roaming screenshots like Marvel pinball, Monument valley, Mini metro and more.
These kinds of premium games will be available for the Google Play Pass subscribers. Yes, they can play all the premium apps or games at free of cost without any hassles at any time.
The best thing is where you can also witness the ad-free games or apps from this. So, whenever you are going to access it, then you will not be going to see any ad in between to annoy you. It means the subscribers are ready to experience the smoother process while accessing this service on their android devices at any time.
One should keep it in mind that the subscription plans will be different and the price also varies according to that.
Interesting fact
Before the announcement of the iPhone 11 event, Google declares the announcement on the launch of Play Pass Subscription. At the same time, one should know that Apple also made an announcement over its service called Apple arcade.
Yes, it is also almost similar when compared to Play Pass at any time. If you see the Apple Arcade, then it will offer the massive collection of games to use like Oceanhorn 2, Beyond a steel sky and others. So, people who all are the Apple user, then this news could be the best thing for you to experience it this year.
Expect the launch soon
So, people who all are struggling to download the paid apps that whenever they want, the usage of this Play Pass will always going to be the best for sure. Yes, by just following the proper subscription plans, you will get an opportunity to use many premium apps without any complicatedness.
At the end of the day, all you need to do is waiting for some more days for the official launch soon. If you are a fan of Google, then this service will be even more pleasing to you.
Wrapping up
Before going to experience the service on your android device, you can also get a chance to use a free trial for a better understanding. If you are completely satisfied with the usage of a free trial, then you can choose the right plan and go according to your wish at any time.
As per your wish and convenience, one can pick the right premium apps or games for their devices to access that whenever needs. Hopefully, the features of this service will be announced during the time of launch for sure. At the end of the day, this service could be the treat for all the android users.